Profiles from the View menu:  .
If you require oblique profiles, or profiles along curved paths, then
please refer to the ROI section of this manual.
Jim can show a graph of vertical or horizontal intensity
profiles through an image slice. To show intensity profiles,
select Profiles from the View menu:  .
If you require oblique profiles, or profiles along curved paths, then
please refer to the ROI section of this manual.
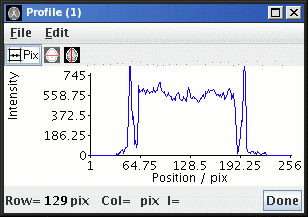
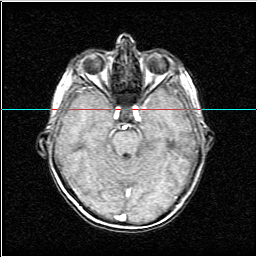
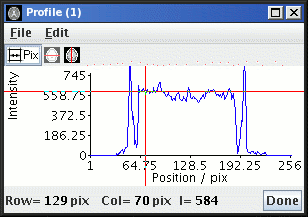
The Profile frame now pops up. Until you select a slice, the graph will be blank. With a slice selected, the graph shows a plot of image intensity along a horizontal or vertical line through the image.

 and
and  buttons. To switch between position
display in pixels and millimetres, use the units toggle button.
To change the location of the profile, simply click and/or drag the mouse over the selected image slice. The red/blue line shows the location of the profile.


To write the profile graph data to a file, choose Write
from the File menu in the
Profile frame: 
The profile graph data is written in a tab-separated table with two columns: the first is the location (either in pixels or in mm, depending on the units setting) and the second is the pixel intensity. See also the File Formats section.
To export the profile graph to a PDF document, choose Export as PDF
from the File menu in the
Profile frame: 
Profiles display is available for static image display and for
movies. For movies, the profile is continuously updated as the
movie steps through the frames. Click the
 button when you have
finished with intensity profiles.