Masking Images
Masking involves setting the pixel values in an image to zero, or some
other "background" value. Masking can be done in one of two ways:
- Using an image as a mask. A mask image is simply an image where some
of the pixel intensity values are zero, and others are non-zero. Wherever
the pixel intensity value is zero in the mask image, then the
pixel intensity of the resulting masked image will be set to the
background value (normally zero). You will normally create a mask image using the
Particle Analysis tool.
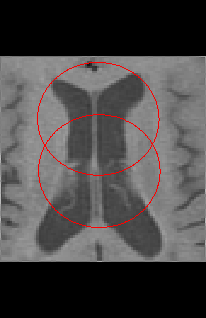
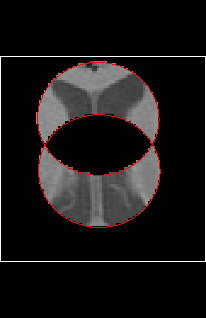
- Using a set of ROIs as the mask. The ROIs for each slice are used to
define what is inside or outside the mask.
N.B. you can also perform masking operations on individual slices or
whole images in a similar way from the ROI
Toolkit. There are three main differences:
- In the ROI toolkit, masking can be controlled on a slice-by-slice
basis if required.
- The way slices without ROIs defined on them is handled differently:
- In the Masker Tool, a slice without ROIs is treated as being completely
outside the mask.
- In the ROI Toolkit, a slice without ROIs is not affected by
masking operations.
- Use of the Masker Tool allows operation form the stand-alone tools
(and therefore masking can be run form scripts
and batch files).
Selecting Masker from the Toolkits menu:
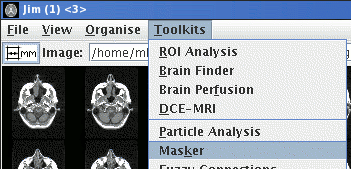 of the main display
frame brings up the Image Masking Tool:
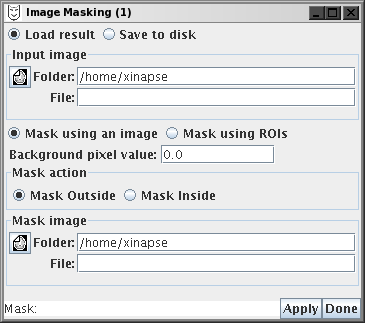
The Image Masking Tool takes an input image, masks it, and
produces a new image which is a copy of the input image, except
that the new image will have its pixel intensity value set to zero (or some
other chosen background intensity value) according to the mask and the
masking operations performed.
The new (masked) image can either be saved to disk, or loaded into
Jim depending on your selection:

Load the input image and the mask image either by clicking on the  icon,
or by typing in the folder (directory) and file name of the image.

Next, set the background intensity value (which defaults to zero). Pixel
intensities in the masked image that are affected by masking operations
will have their intensity set to the background intensity value.
Choose whether you want to set the pixels intensities outside the mask to
the background, or those inside the mask to be the background, by clicking on
the appropriate button:

Then, choose whether you will use an image as the mask, or a set of ROIs
by clicking the appropriate button:

Now click on the  button to apply the
mask. If you have chosen to save the result to disk, then a
File Chooser will pop up, prompting
you to choose a file name for the new image. Otherwise, the result
will be loaded into Jim.

 of the main display
frame brings up the Image Masking Tool:


 icon,
or by typing in the folder (directory) and file name of the image.


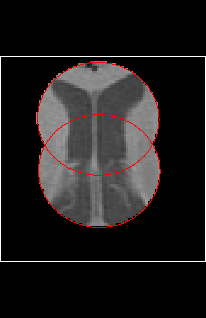
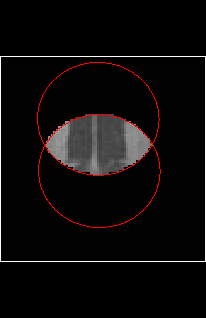
 button to apply the
mask. If you have chosen to save the result to disk, then a
File Chooser will pop up, prompting
you to choose a file name for the new image. Otherwise, the result
will be loaded into Jim.