Process menu: 
The Image Algebra tool can be used to perform algebraic operations on images. You can perform transforms on single images, or combine multiple images, and even perform simple linear regression on images. You can view the result, or you can save it to disk as a new image, for later retrieval, viewing and analysis.
Start the Image Algebra tool from the Process menu: 
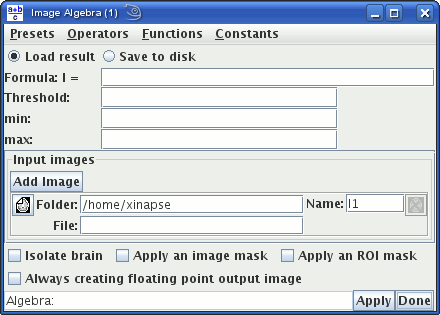
The Image Algebra frame will now appear as shown below:

The procedure for performing image algebra can be summarised as follows:
 button until you
have the correct number of image selection panels in the "Input
images" pane. If you have too many images, you can remove any of
them by clicking on the
  icon.
icon.
Operators menu. You can also use parentheses (..).
Functions
menu.
Constants
menu.
Operators,
Functions and Constants menu to insert text into the formula.
 . This will
bring up a File Chooser that you
can use to set the input image corresponding to the variable name
on the right. Alternatively, you simply type in the folder and
image file name in the text fields, or by pressing the right mouse
button and selecting from the menu of recently-used images.
Each input image must be of the same dimensionality (i.e., the same number of slices, and rows and columns within the slice). The Algebra tool then works through every pixel in the set of input images, and applies the formula to produce a single output image derived from a combination of the input images.