Annotation Sets
If you find yourself working with a limited number of annotations, where ROIs are labelled using
one annotation from a set, you may want to set up an Annotation Set. To set up an Annotation Set,
select Manage ROI Annotation Sets ... from the File menu of the ROI Toolkit:
 . This brings up the
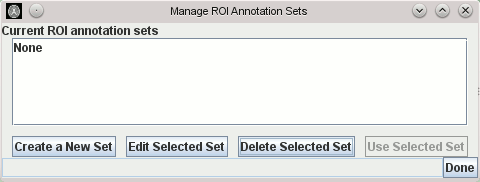
Manage ROI Annotation Sets dialog:

To create a new new Annotation set, click on the
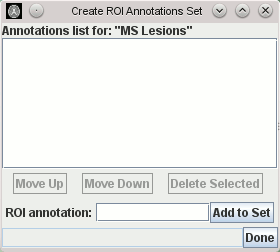
 button. This will bring up a dialog for you to enter a name for this new Annotation Set:

Enter the name for this annotation set, and press the
 button. In this example, we
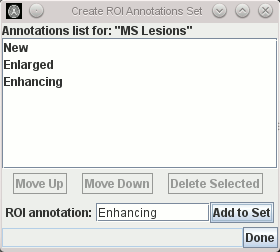
create a set with the name "MS Lesions". Next, the dialog to add annotations to the set will
appear:

For each Annotation in the set, enter the ROI Annotation you want to use and press the
 button. In this
example, we have entered three ROI Annotations to be used: 'New', 'Enlarged' and
'Enhancing'. These now appear in the list for this set:

When finished adding Annotations to the set, click the
 button. These
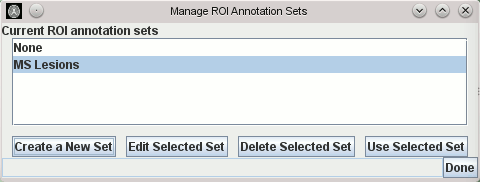
Annotations will now be part of the Annotation Set, and your new Annotation Set will be listed in
the Manage ROI Annotation Sets Dialog:

To use this set, make sure it is selected in the list and click the
 button. You can change the annotation set by clicking on
the
 button, and you can delete the selected
Annotation Set by clicking the
 button. To use the selected set for your
current image analysis task, click the
 button.
When you have selected an ROI Annotation Set to use, the annotation set will appear in the ROI
Toolkit Dialog underneath the Annotation field, as a list of Annotations to choose from:

With an ROI selected, choose an Annotation from the drop-down menu, and it will be set for the
selected ROI.
To stop using an Annotation Set, bring up the "Manage ROI Annotation Sets" Dialog,
select the set called 'None' in the List of sets, and then
click the  button.
 .
.  .
.  .
.
